
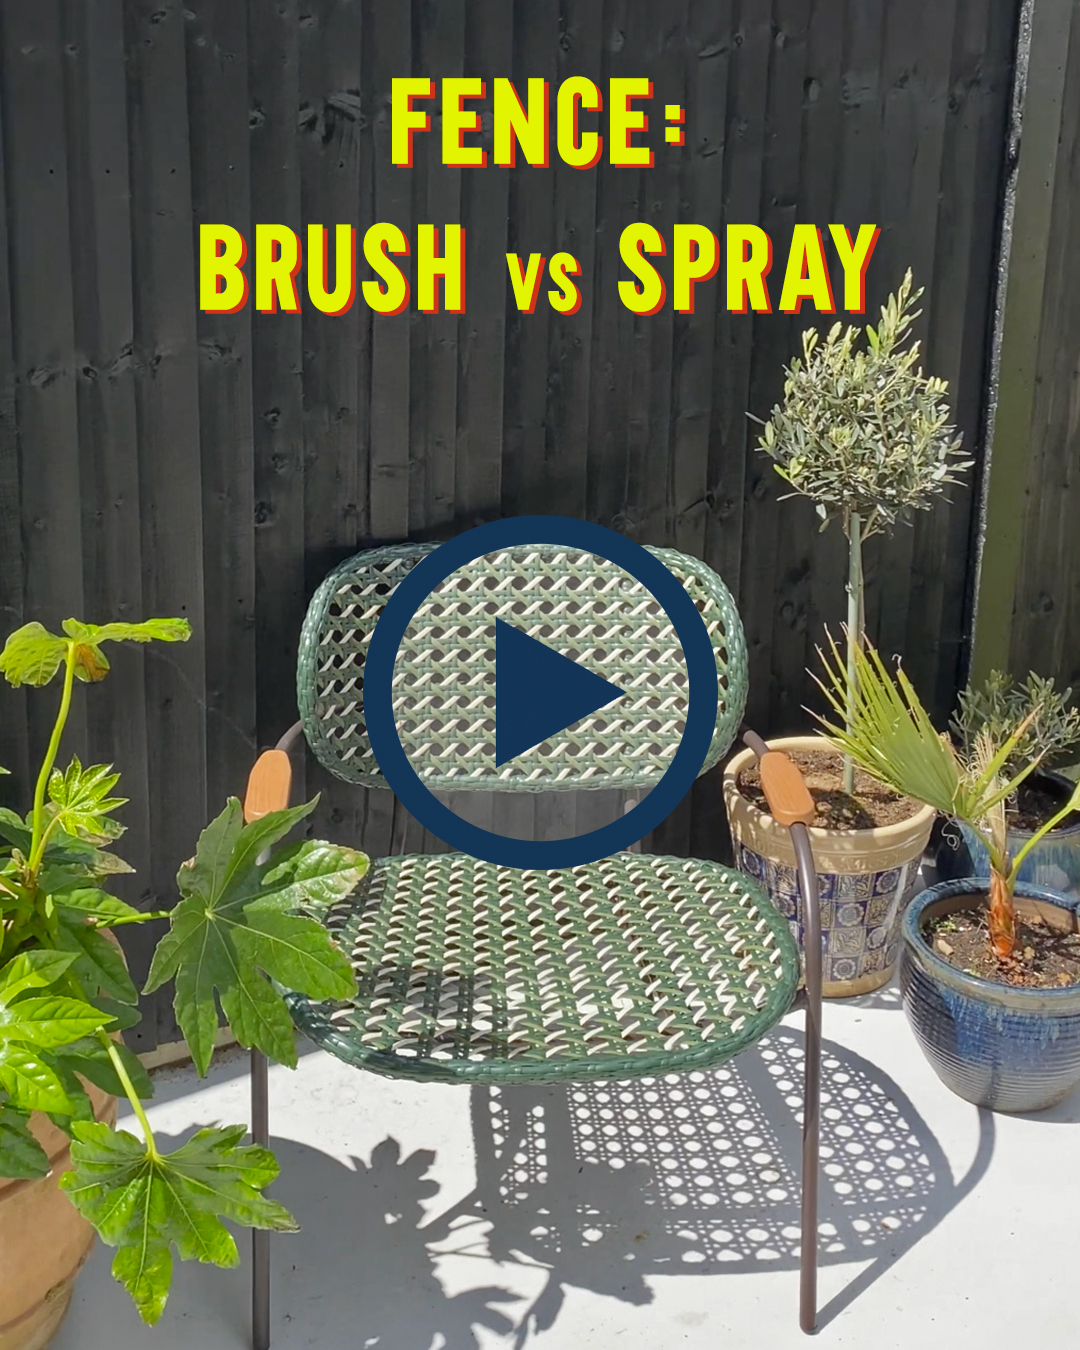
Brush Vs Spray

This is possibly the most boring content I have ever written…but to be honest, this fence has taken longer than our kitchen renovation to complete so it’s only fair I do it justice with an article. And I’ve got quite a lot to say…!

Our garden has not really been a garden for the last 4 years…it has been a dumping ground overgrown with weeds, then bricks, then cement mixers, then tarpaulin. We’d never had a garden before but due to funds and renovations, it just remained our last priority. We had grills over the door to the back room that led onto the kitchen and needed two sets of keys just to access the garden and once we got out there, it was a bit depressing. And that was before the building work….!

Once the building work had finished, we laid some grass so it was useable with kids last summer and then just kind of left it. It hasn’t been until this year that we’ve had any energy to tackle the garden but we thought the fence was the easiest place to start.
As we have a modest North facing garden, we originally went for a light grey paint (from Valspar) to help bounce light around and give the illusion of space. But as soon as we started it didn’t feel ‘us’.
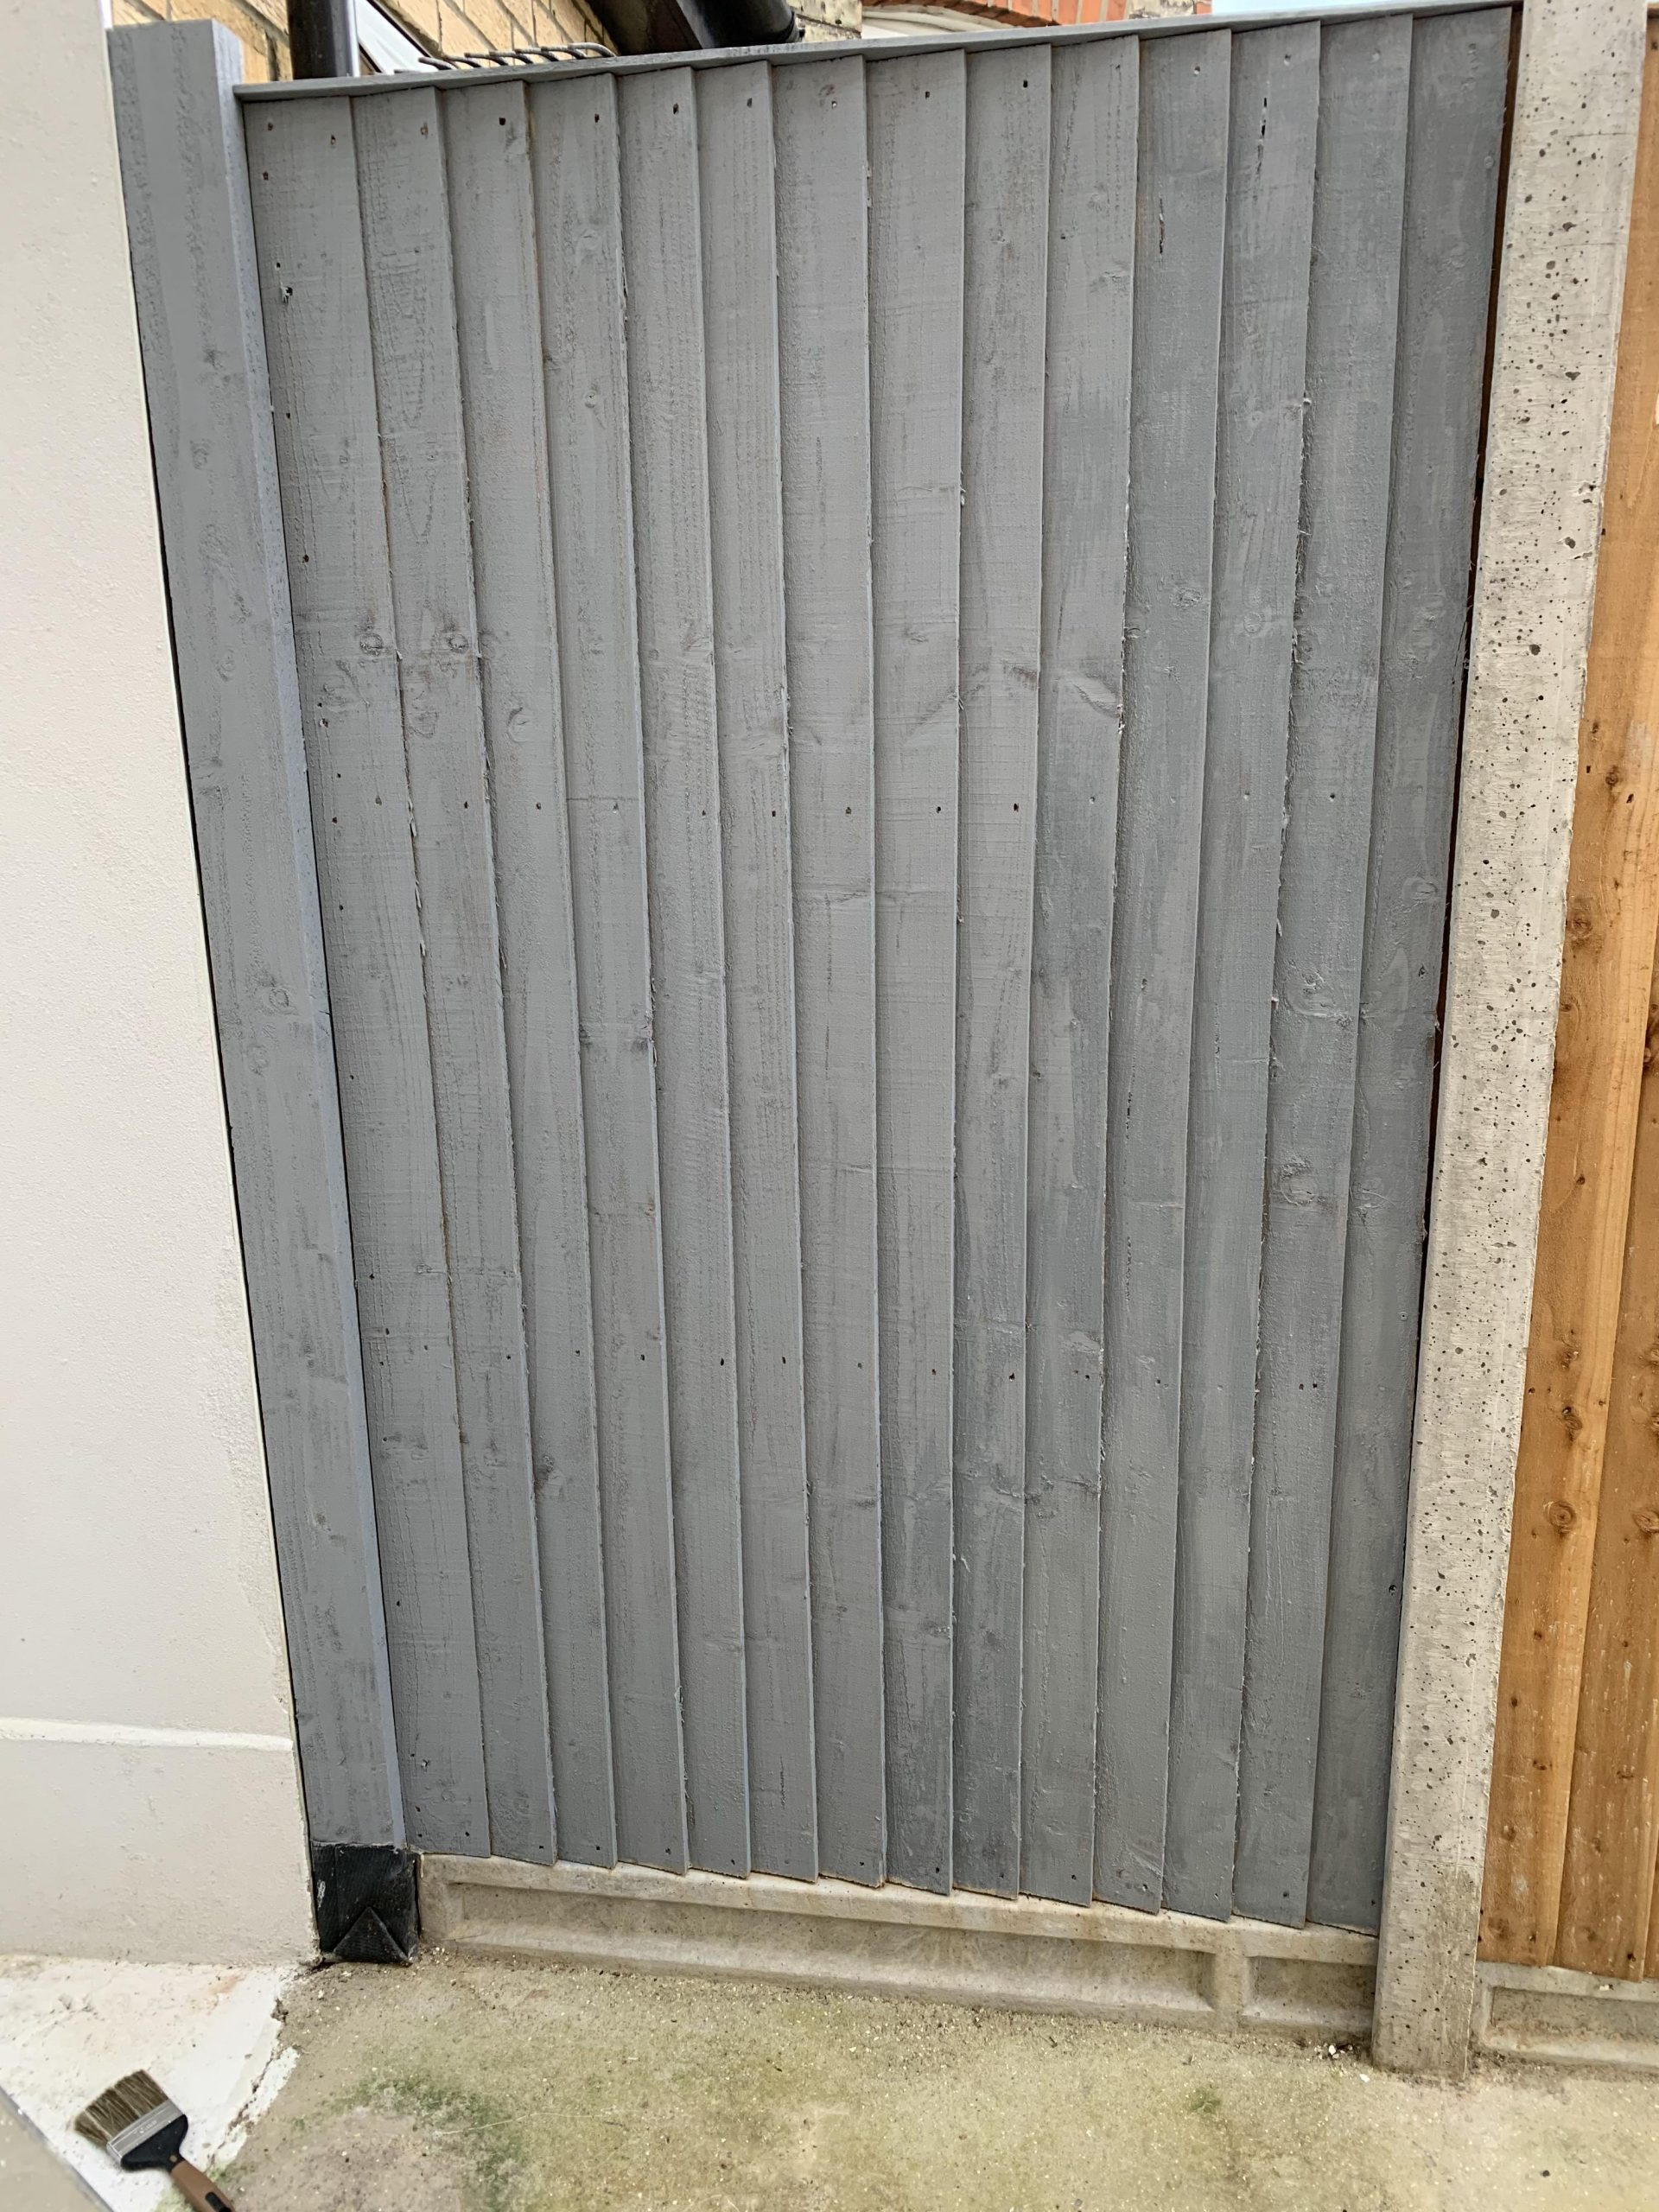
It didn’t have the impact I was hoping for and felt even more concrete-y against our already concrete floor! So we went back to the store and purchased black and it immediately felt right for our space (especially since we have black aluminium doors and windows onto the garden).

We originally used Cuprinol Ducksback in ‘Black’ which we thought was the best paint for coverage (it says one coat but two is better). But after taking a day to complete the first coat on one fence panel using a plethora of brushes (bearing in mind we have a 6 month old!), we thought we’d try the spray.

We made a video about our different attempts on Reels, here:
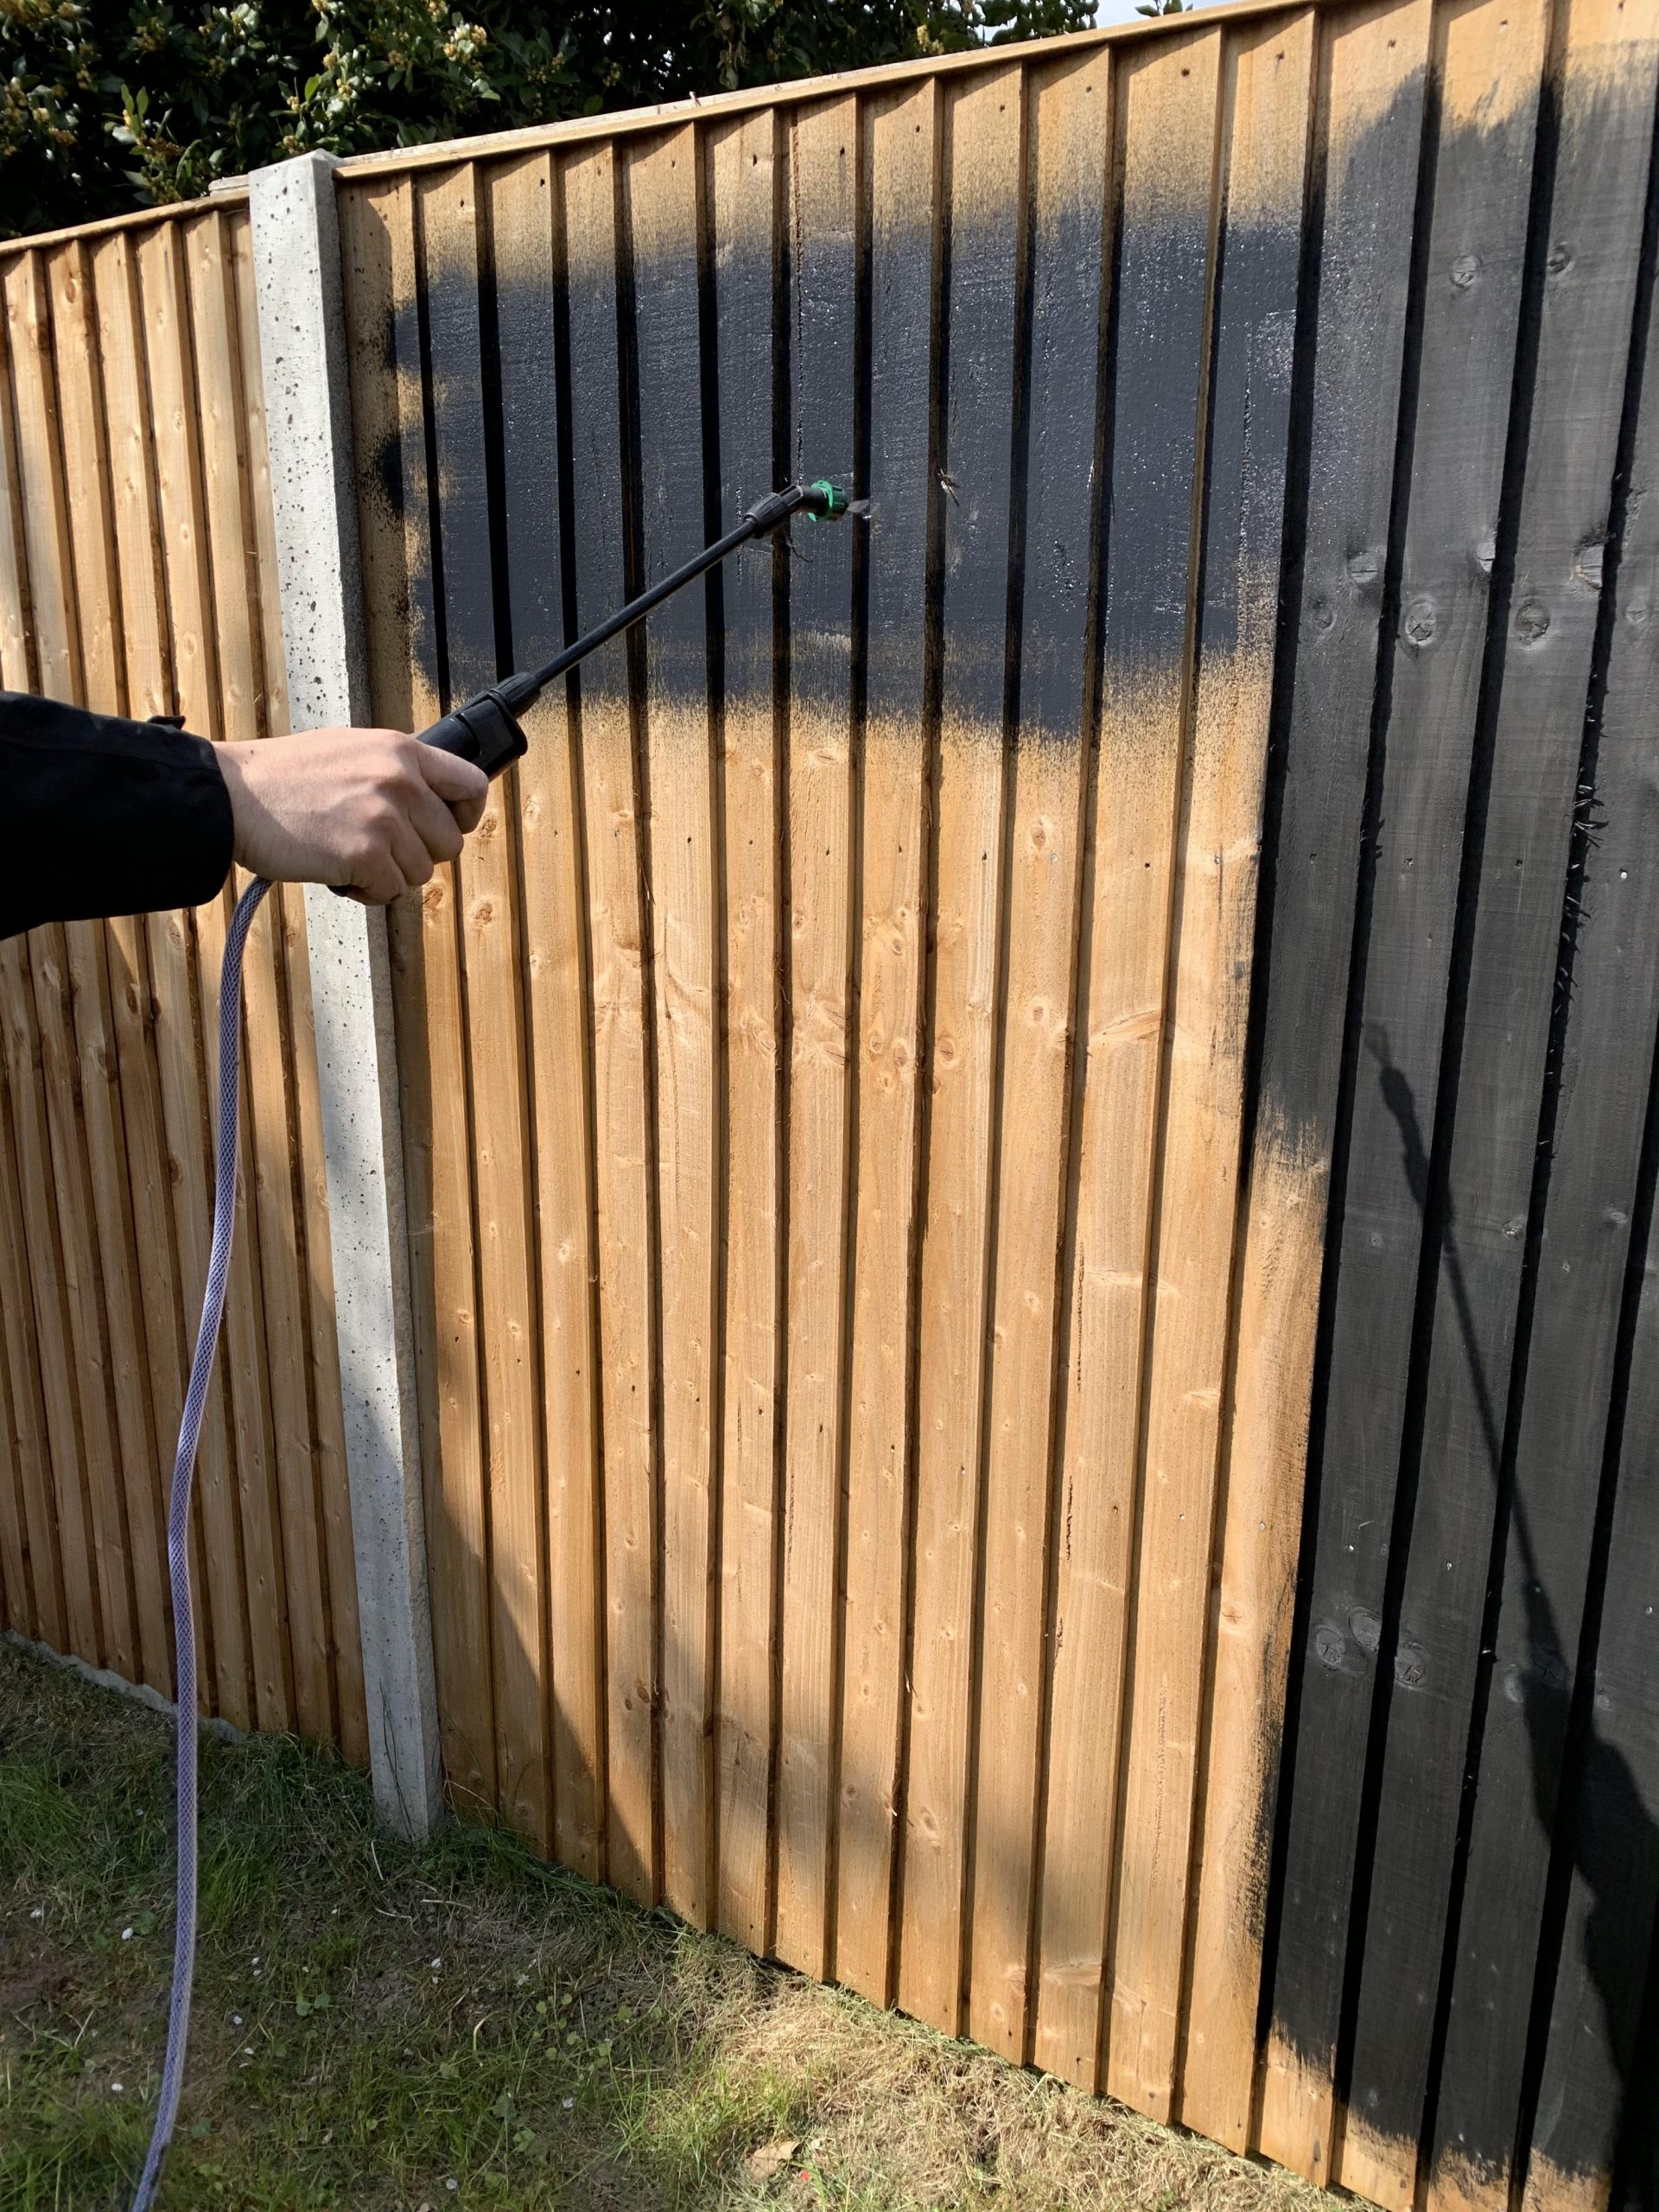
We used the Ronseal sprayer with Cuprinol paint (which the guy at the till told us would work – of course!) but it got clogged up and Chris had to wash it through twice before using compatible Ronseal paint in Tudor Black Oak – again it says one coat but I’d do at least two). The thing about the spray is that it’s messy, all the ads show it gliding beautifully, blending without using a brush. We found it went on so thick, we would spray and then follow up with a brush to blend and wouldn’t risk using it on side panels that backed onto neighbours in case it leaked through to their side. We also wouldn’t risk spraying to the edges in case it went over, so still ended up ‘cutting in’ at the top and bottom. That said, it was still quicker than painting solidly by hand.

I also found I still needed a brush to really get into ‘grooves’ and rough edges. As a perfectionist, I would say I prefer the finish of the paintbrush, and hope that by being a bit more careful with our painting will mean it lasts longer, but time will tell! I went as far as using a tiny artist brush to really get into the nooks and crannies (especially in those concrete posts!) and would stand close to the fence to try and fill in all the gaps between the slats!


Are we finsihed? Not yet. Have I enjoyed doing it? Kind of. Am I hoping that my attention to detail will mean I don’t have to tackle it again for at least another 5 years? DEFINITELY.


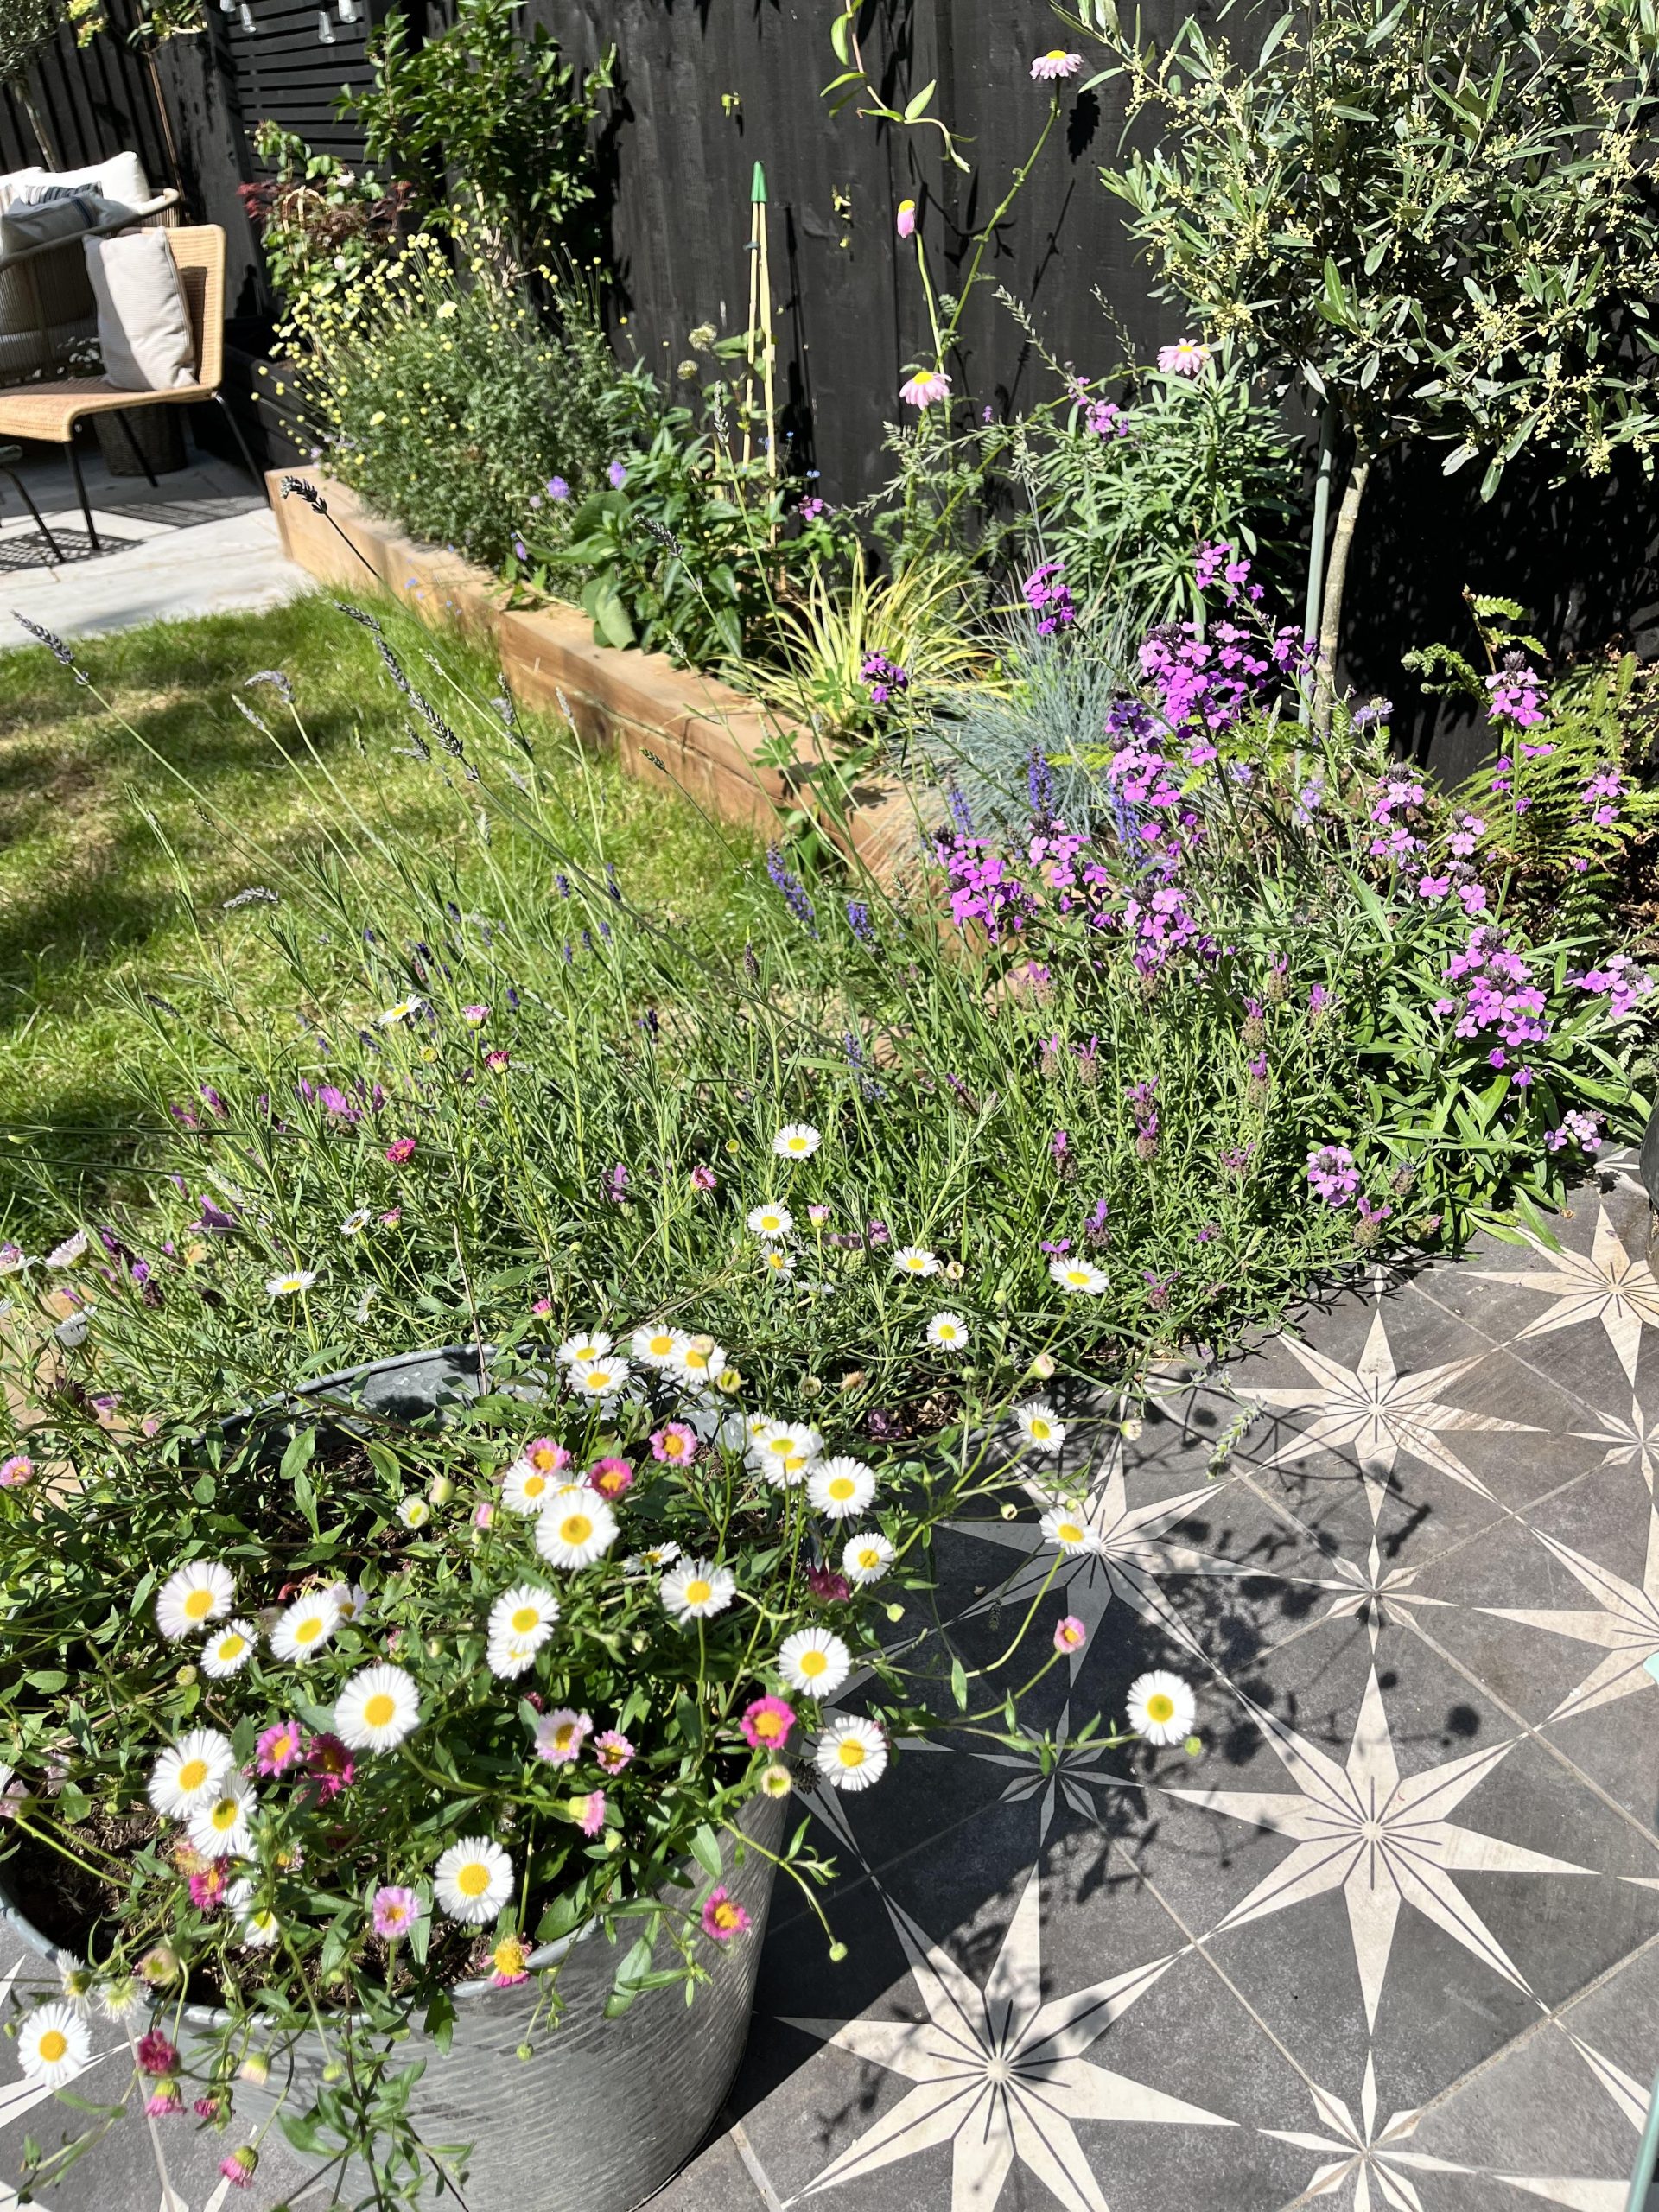
I love how it turned out! Really lovely! I love the colors and it really complimented the outside ambiance. 🙂