

We have made use of a LOT of tiles in our house and I love how they can transform a room. We haven’t mastered the skill of tiling ourselves yet, but we have used affordable tiles across our home in different ways. I thought I’d add a few tips on why we chose the tiles and grout that we did, as well as highlighting a few different ways to use tiles in your home.
Tiles don’t have to be expensive to look expensive
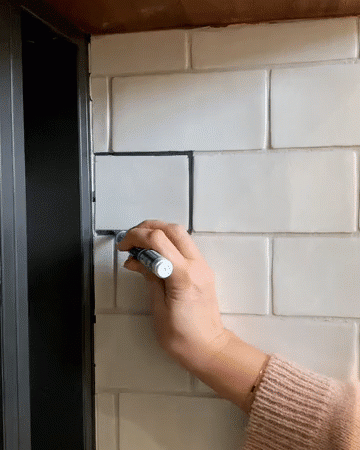
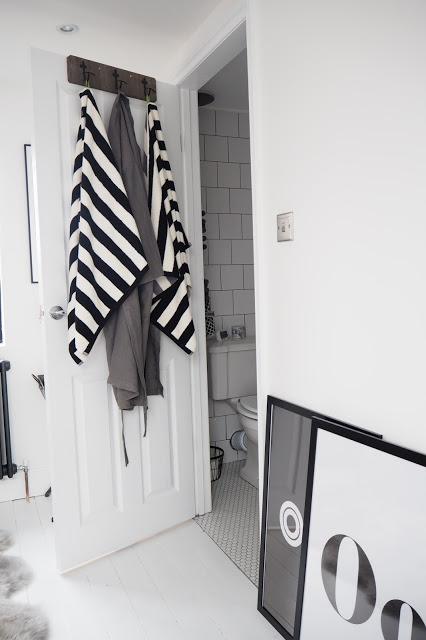
This is kind of my philosophy for everything, really. For our last flat we chose square tiles from Topps (see the post here) and love them, we used a brick pattern so they felt like metro tiles, but not. We loved the ease and price of them so much we used them again in our new bathroom in our new house. Annoyingly, the exact square tiles we used aren’t available anymore but these are slightly more rectangular, for a very similar effect. Then we used ‘ash’ grout, which is almost black but not quite – it makes them look different plus amazing for not showing up mould/dirt. If you have decent tiles in place but they need just a little sprucing up, re-grouting with dark grout might be a quick and cheap fix worth thinking about.

We also used Topps for our floor tiles in this bathroom, I love the clashing patterns and still, three years on, wouldn’t change the scheme in here. These are the charcoal ones and we used the ash grey grout to hold the colour in more (as some have said they look more brown on the site).
Tiling the bath was also something I saw on Pinterest, and think it really makes a difference to a room and gives an otherwise non descript bath some character (I originally wanted a roll-top bath but it needed to also work as a shower in here and this was a more efficient use of the space).

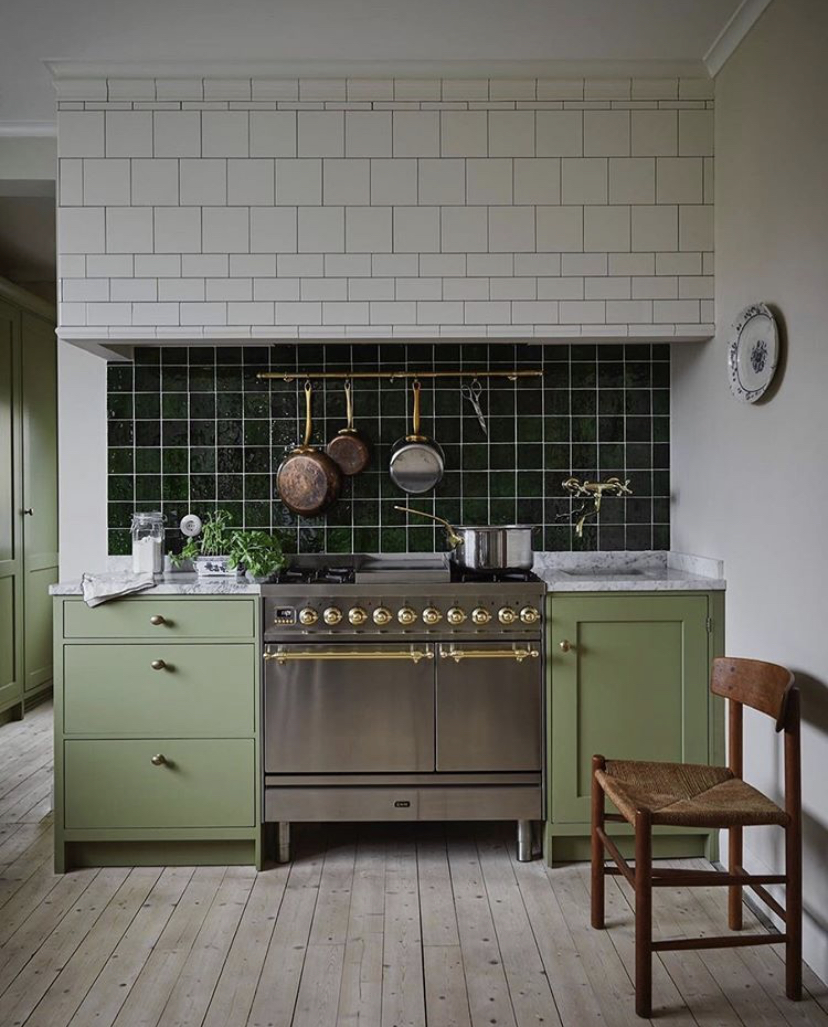
Try using classic tiles in different ways
The classic metro tile, you’ve probably seen it a million times but using it in a different layout can make a real transformation. Check with your tiler first as patterns like herringbone are trickier to lay but it is so worth it.

I also love this via @johannabradford – using different shaped yet similar tiles is such a clever way of working with plain white tiles.
Working with what you have…
RECONDITIONING
Luckily, we had some pretty splendid tiles in our house when we moved in (one of the reasons we fell in love with it). They weren’t in terrible condition but under years of dirt, dust and quite a few chips with other tiles missing. We contacted a local specialist who reconditioned them for us, he sourced missing tiles, filled in others and cleaned up the existing floor before sealing it. The difference was astonishing, we knew we wanted to keep the flooring but honestly? I never thought it would come up as well as it did.


PAINTING

When we first moved in this fireplace was covered with a gas heater, so we couldn’t quite get to it. It was only after I started scrubbing it up I realised there were original tiles here (within the fireplace), but they were very old and tarnished, so much so that I couldn’t even quite make out what colour they were. But I didn’t want to replace them so I painted over them, I used Rustoleum furniture paint in ‘Graphite’ here, which is possibly my favourite paint for fireplaces (not to be used in working fireplaces though).
Encaustic Tiles: pros and cons

I suppose I can’t really finish a post on tiles without addressing THE ensuite tiles. Whilst renovating the front bedroom, I became addicted to pinning images of encaustic, cement tiles. They just looked so good and I loved the idea of porous tiles – it felt more natural and made a huge statement. A lot of the cooler prints seemed to be in this material, too. I love them and wouldn’t change them now. However, looking back, I probably wouldn’t do it again. Here’s why:
They’re expensive. This is why we only did one wall with them and not the whole room. Plus, every time you cut into one, because of the pattern, it can’t really be used again, so it’s more wasteful.
They’re heavy. And not just in a transport sense but also sticking them to the wall. They’re also super thick – you lose quite a bit of wall space with fitting as they’re about an inch deep. It was also quite hard to find trim that thick for the edging!
They’re tricky to lay, as there are lots of different pattern combinations.
They have to be treated. They came with sealant and strict instructions on how to seal them, otherwise they wouldn’t be waterproof (not ideal in a bathroom). And then you have to reseal them every few years (reminds me, must check when that is!).
You have to be really careful with cleaning them. Otherwise they might stain, be careful with bleach or oil-based products. We generally just use a plain damp cloth on these tiles, then more harsher products on the rest of the room.

The pros? Well, they do this print in porcelain now! I think for ease, and cost, I’d definitely stick to a plainer tile. That said, I still love them and always get compliments on them as they are so different and now they’re installed, it’s not such a hassle. I just keep my oil face wash well away!
Save expensive tiles for smaller spaces
Sometimes, a really great quality tile can be the making of an area, so if you have your eye on a more expensive tile, save it for a smaller yet significant area.


Just did huge tile order about half an hour before this went up! Am idiot! 🙈 love the different white size tiles together.
Me too – am going to try and use for downstairs loo!
ohhh I am getting so inspired! I want this type of wall even in my kitchen!!(:
Cate ☾ 35mm in Style | Photography + Blogging
I love it. Excellent article. I am definitely going to put this into use. I will be sure to let you know if I do. Great work. Thank you so much!
This was really useful – I love the different sized white tiles together, so simple but effective!
Becqui – http://www.becquijean.com
Which are the black tiles on the hearth, bottom picture please? looking to get ours done and cant find anything the right size! These are beautful but i cant seem to see them on topps tiles. Thanks x
Great post, very useful!
Oh sorry, these were Fired Earth but we bought them 3 years ago in the sale so think they’re discontinued – they were something like 23p a tile at the time! xx